

Create a Twilio Account

Verify Your Account

Twilio Generated New Phone Number

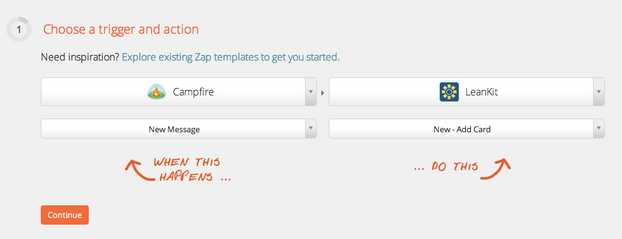
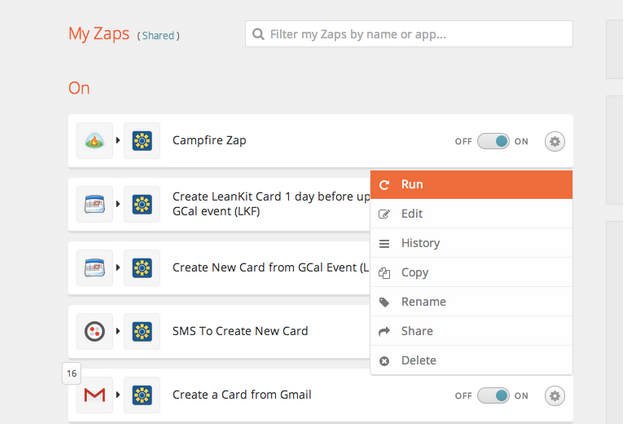
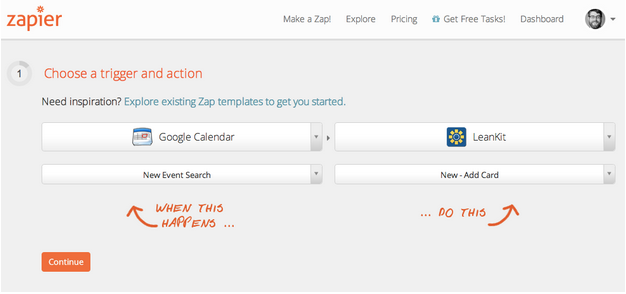
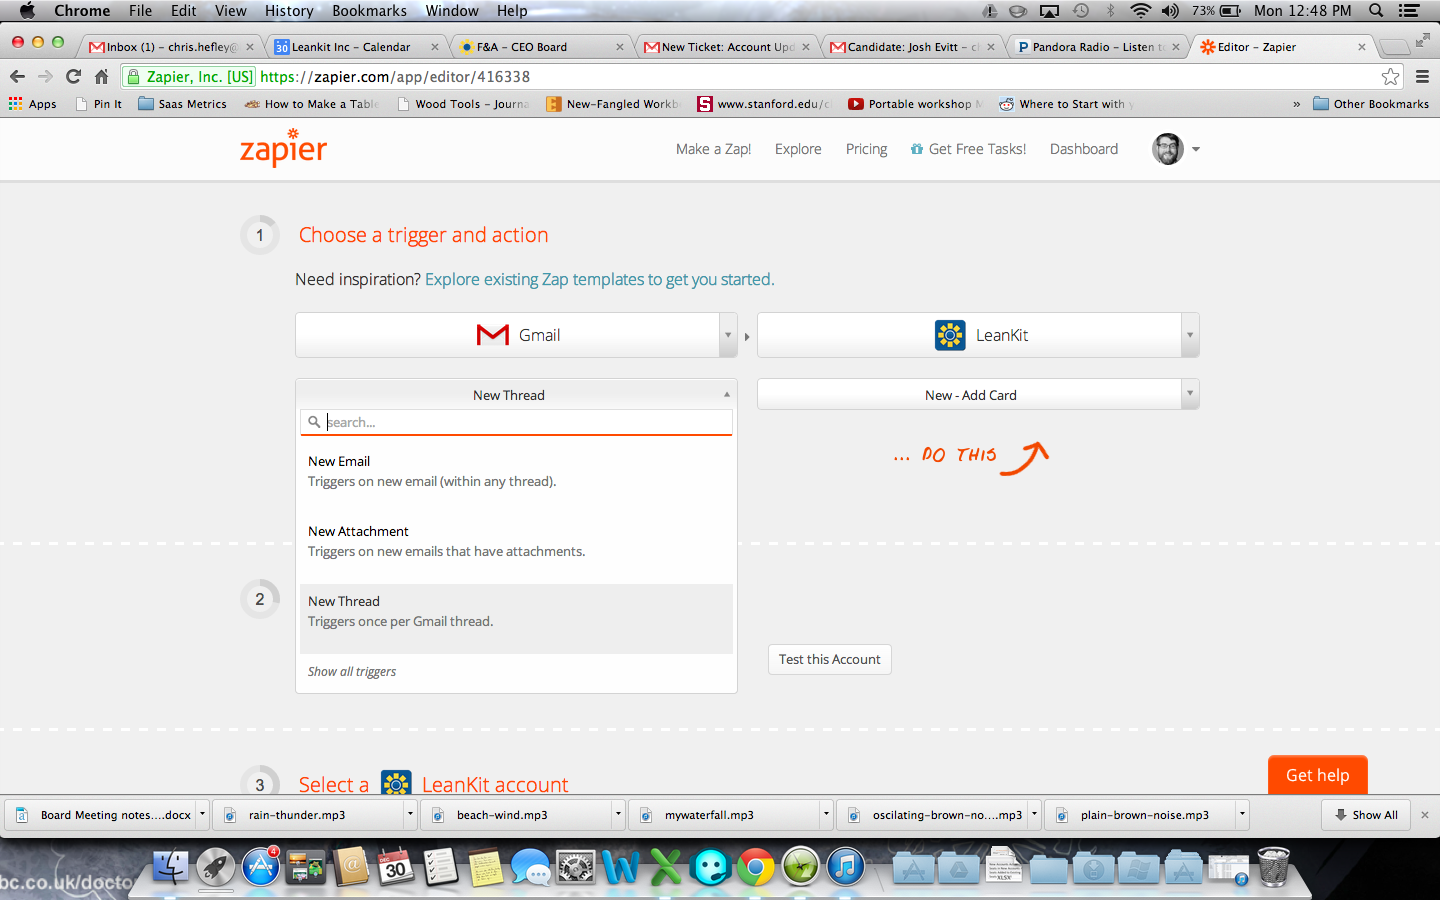
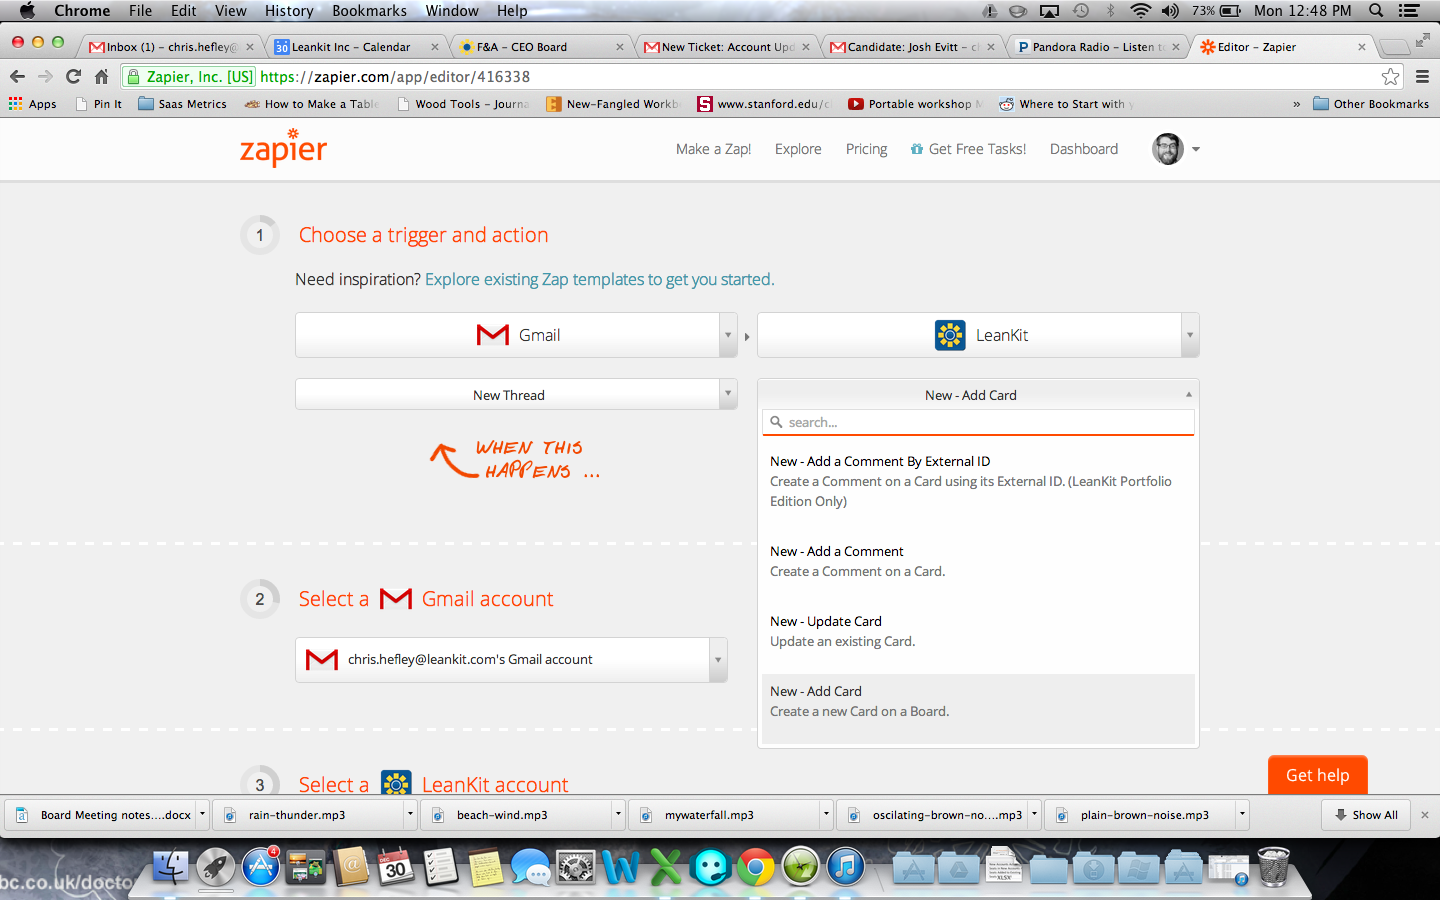
Create a New Zap

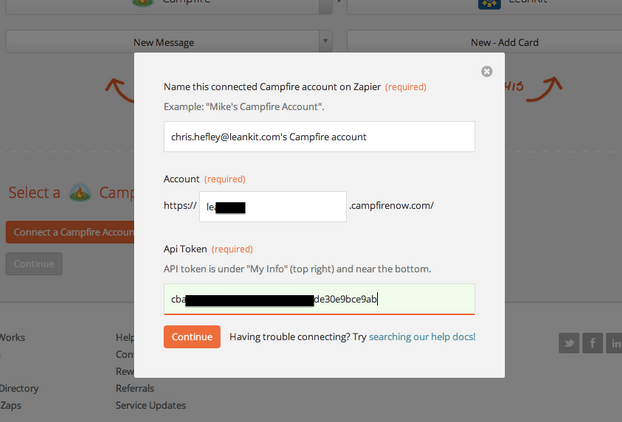
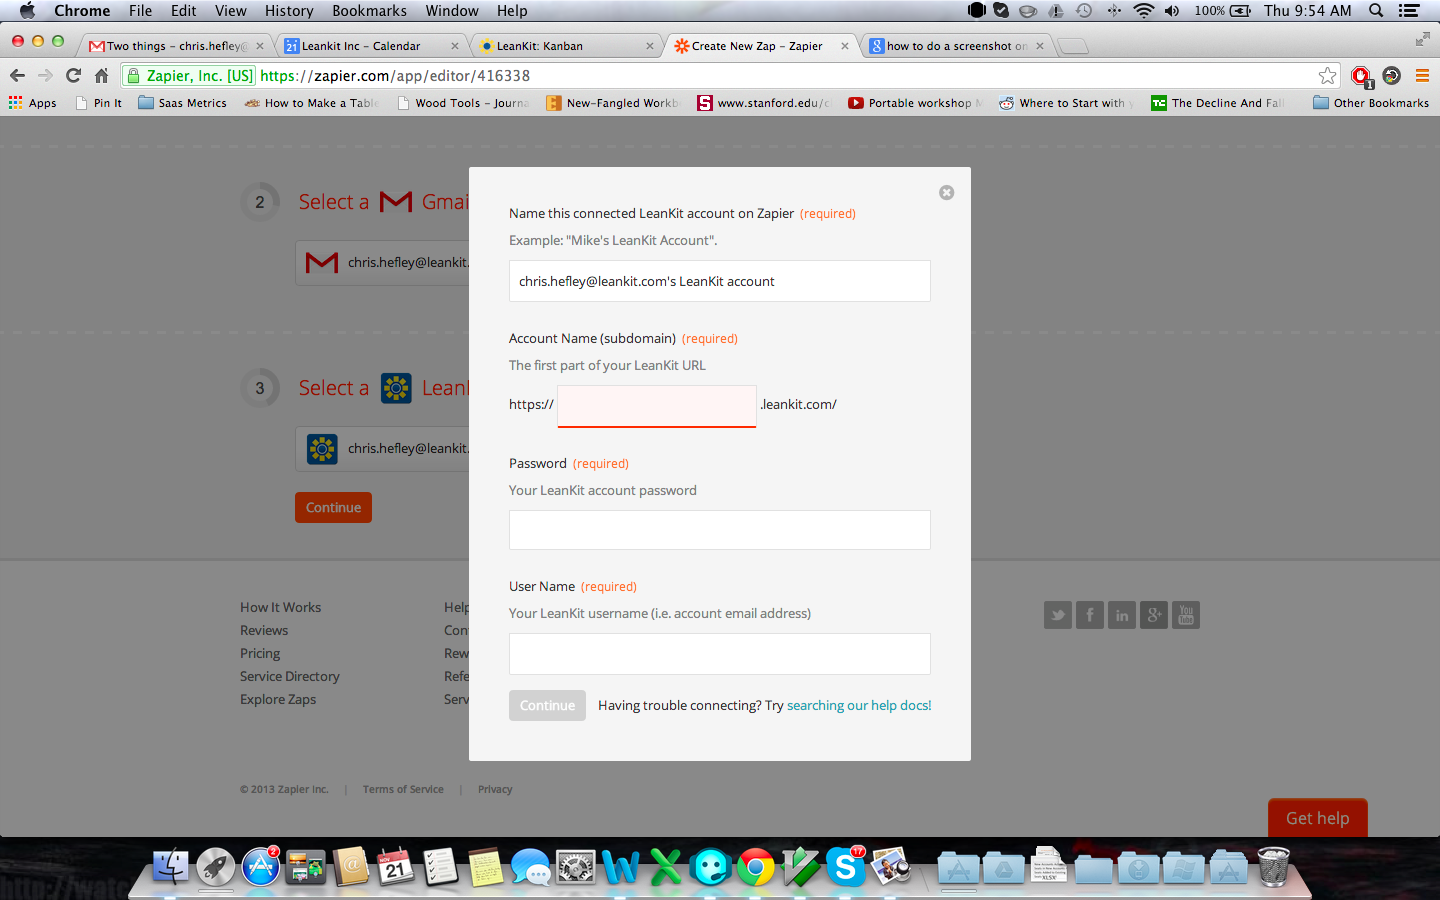
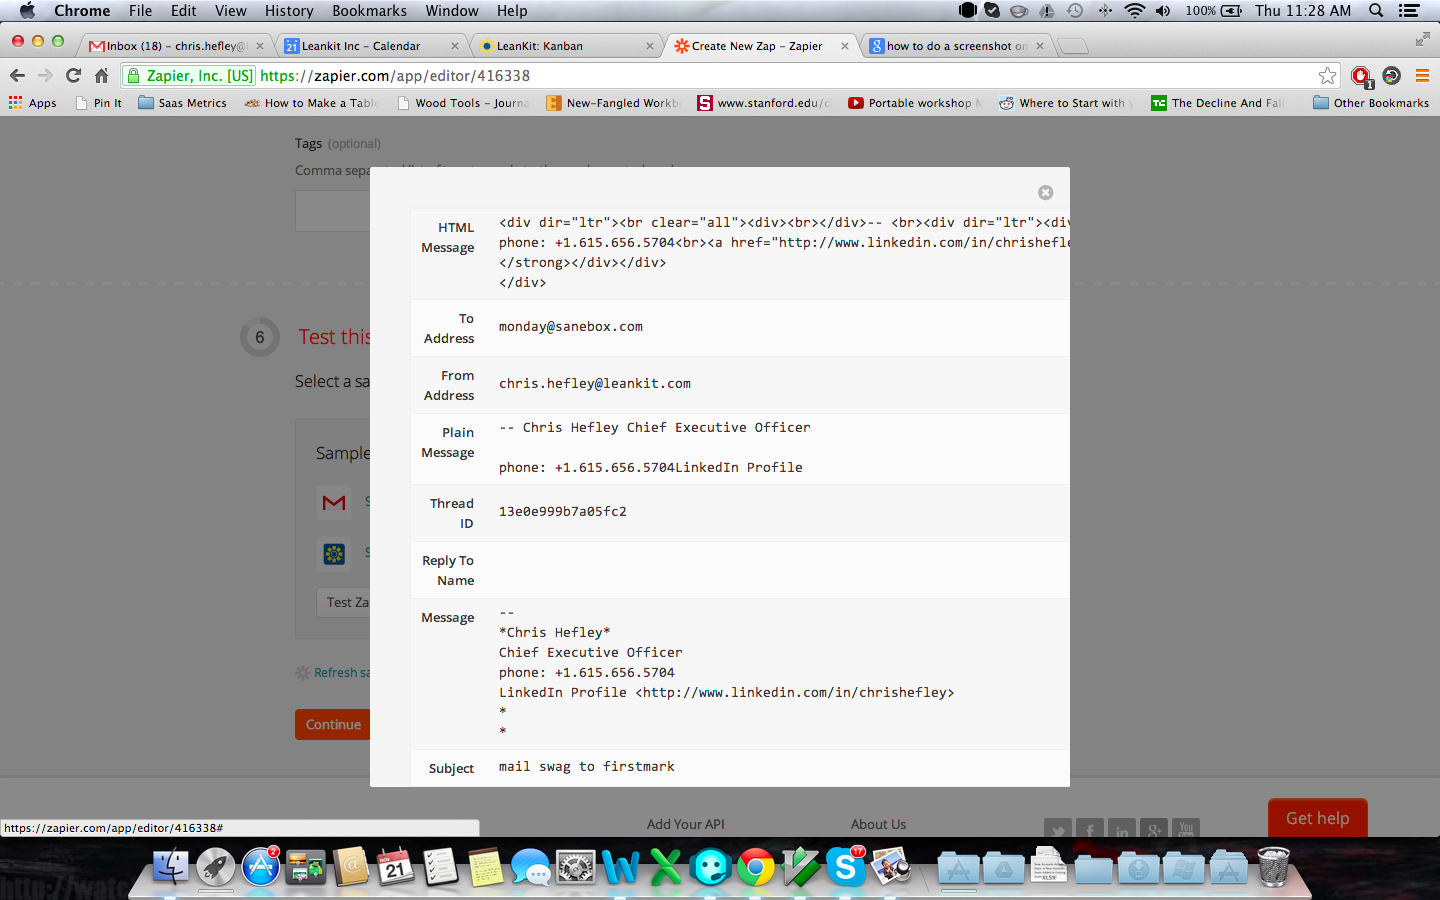
Configure Your Twilio Account, SID and Auth Token

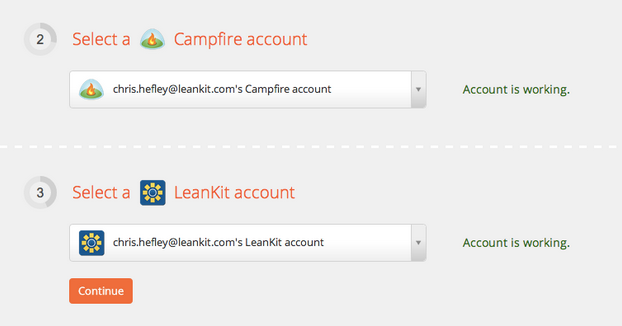
Accounts Setup Correctly

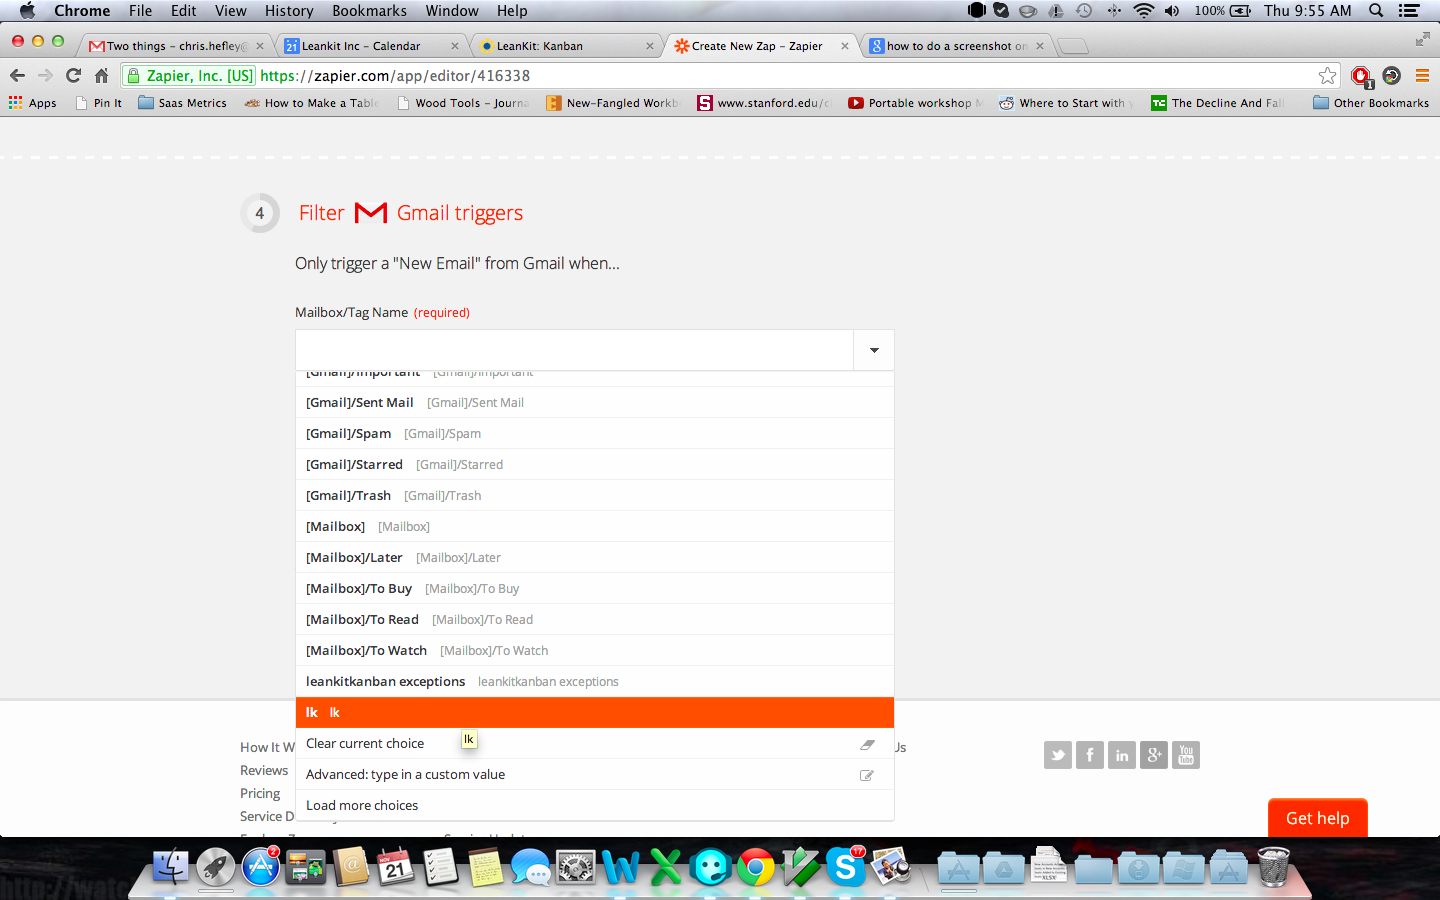
Select Twilio Number for SMS

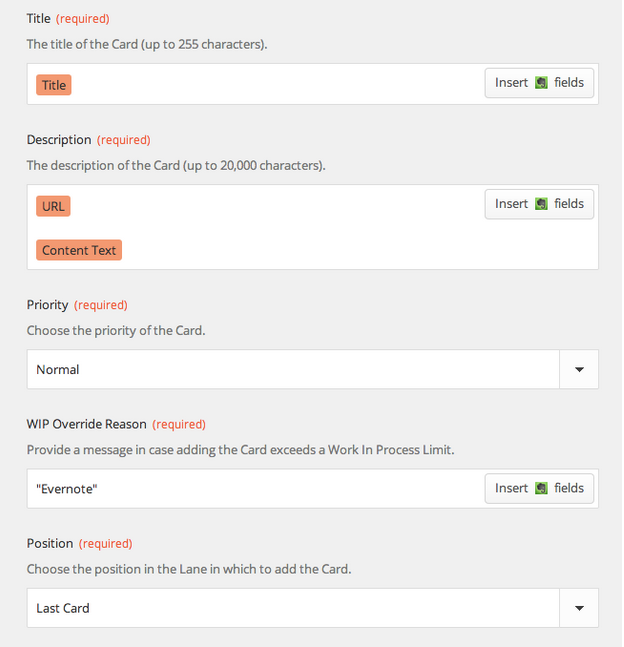
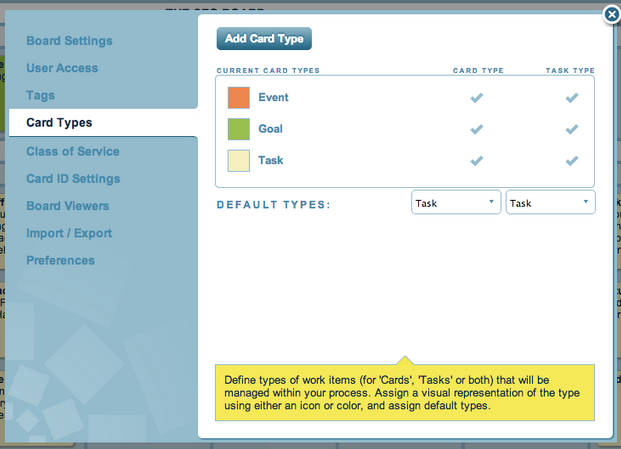
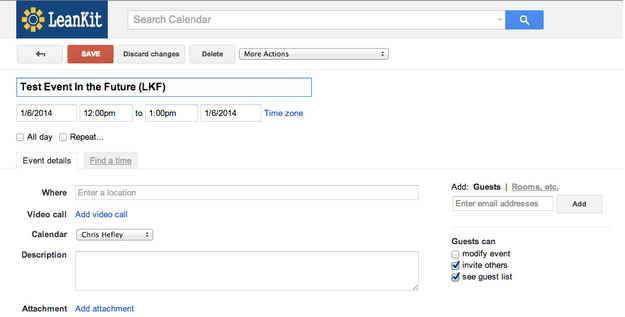
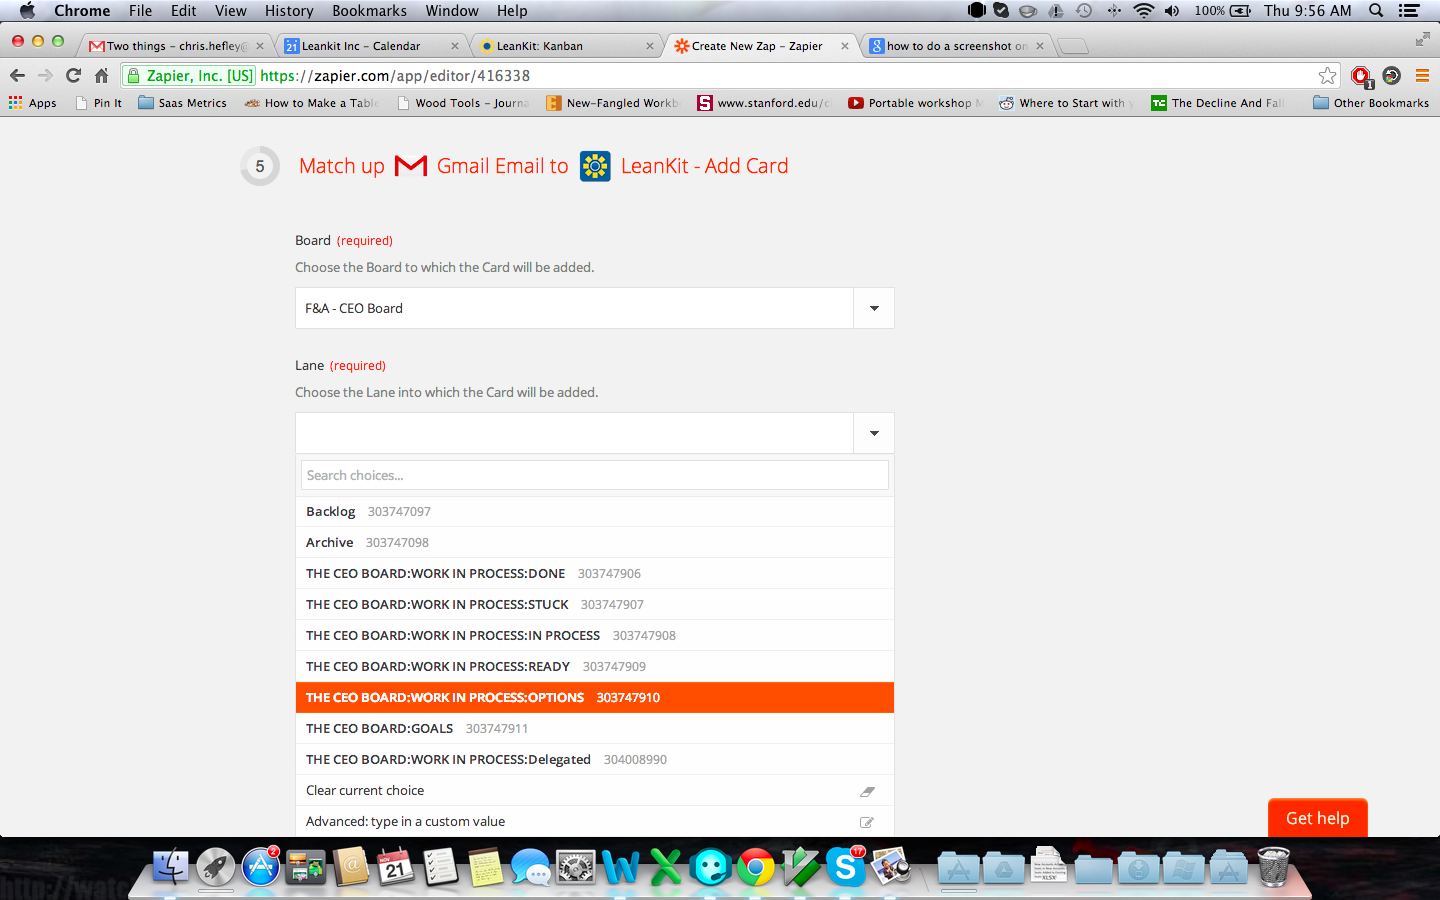
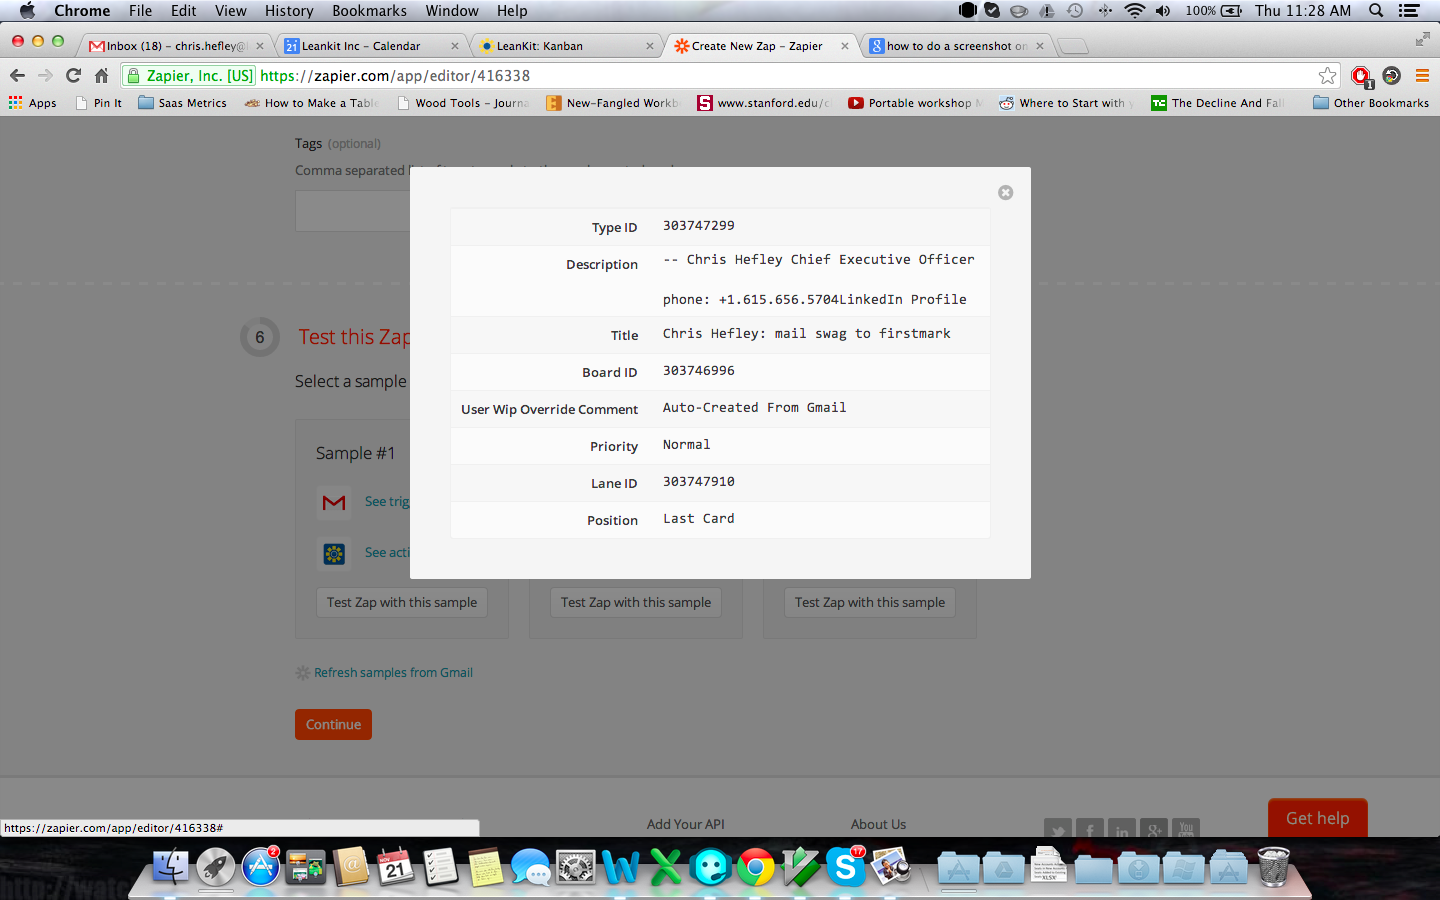
Selecting LeanKit Board, Lane and Card Type

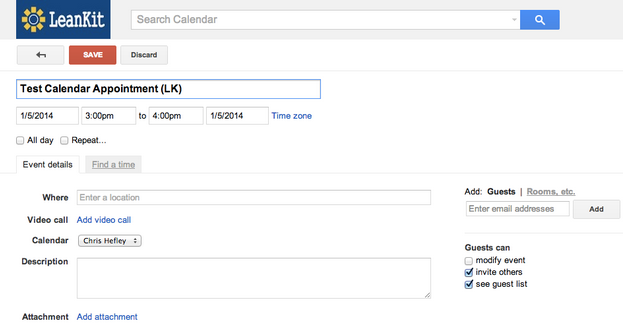
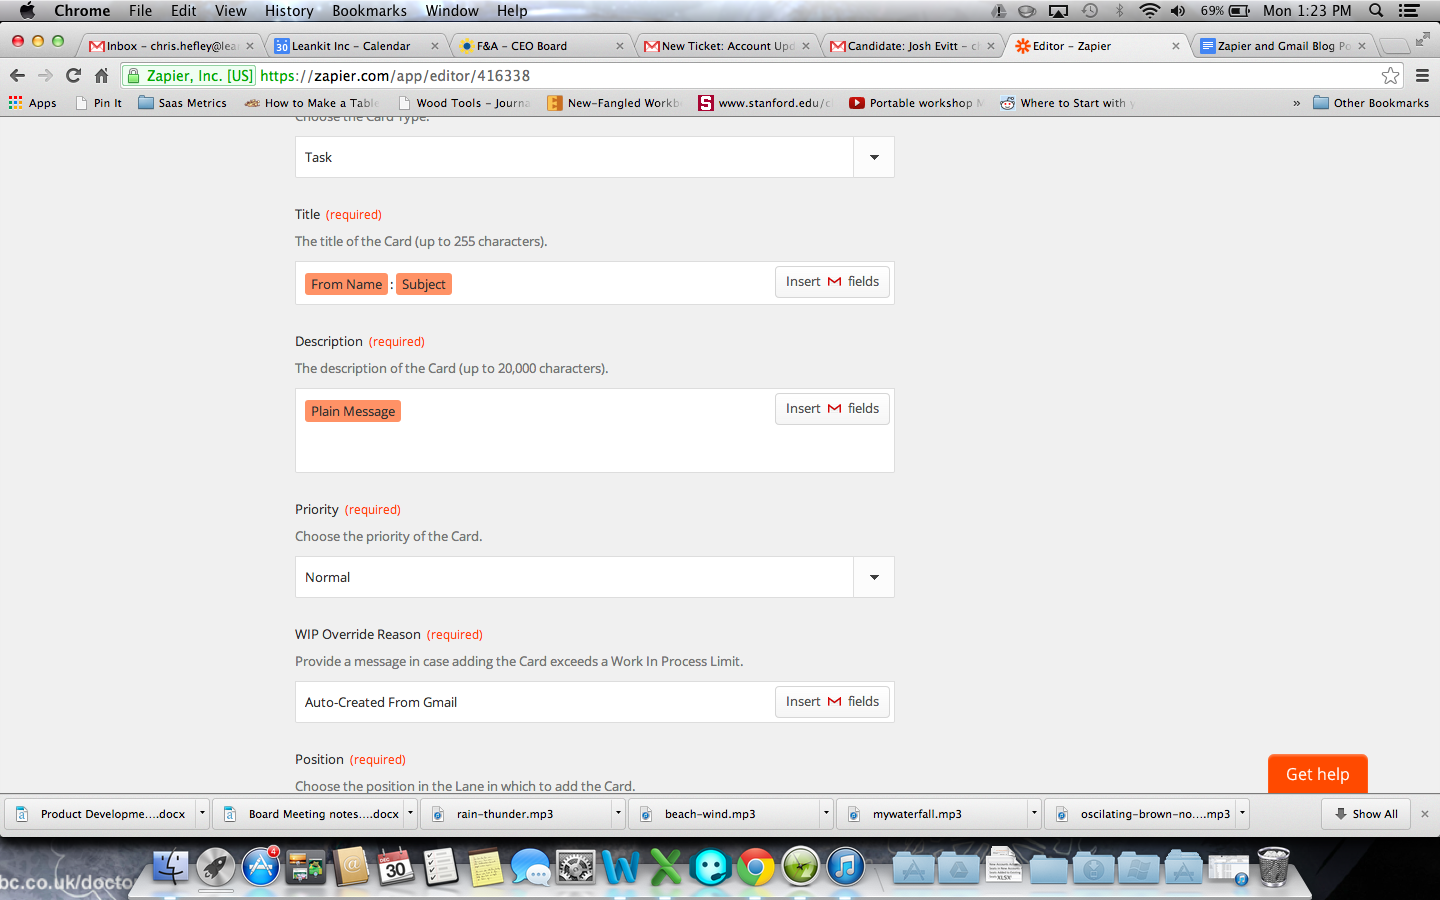
Other Required LeanKit Fields

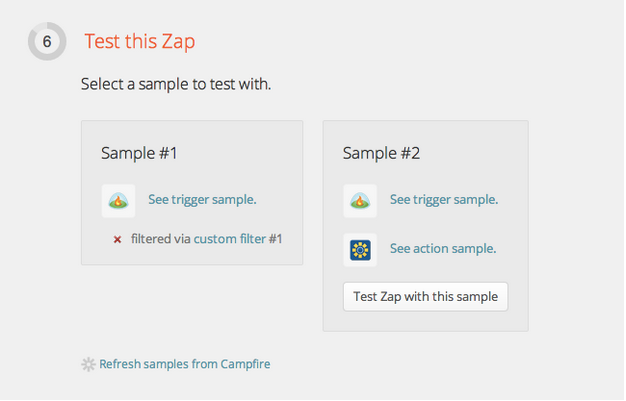
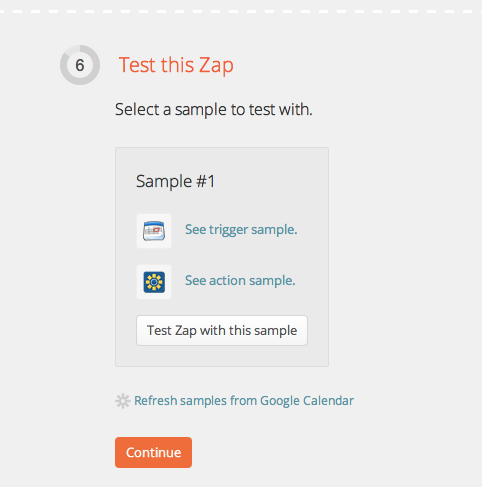
Testing and Naming the Zap

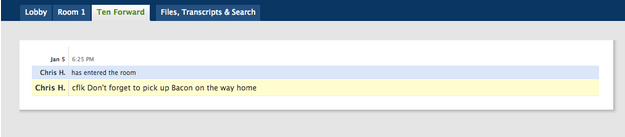
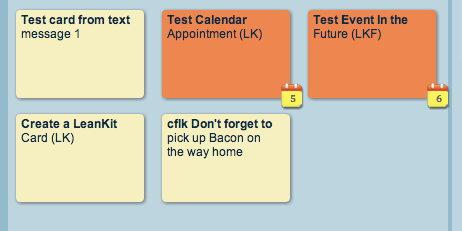
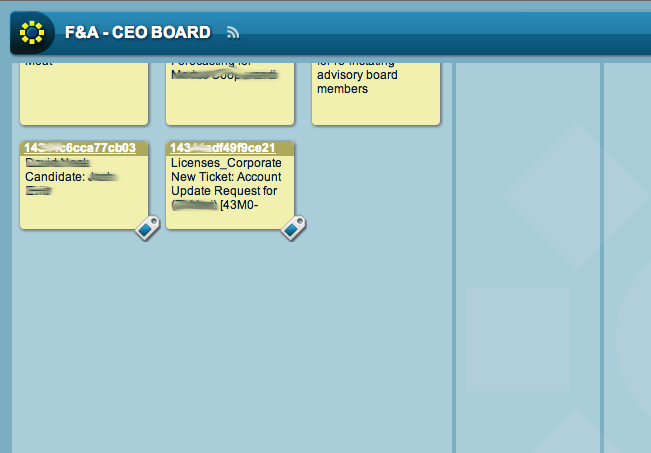
Sending a Text to Twilio to Create a New LeanKit card
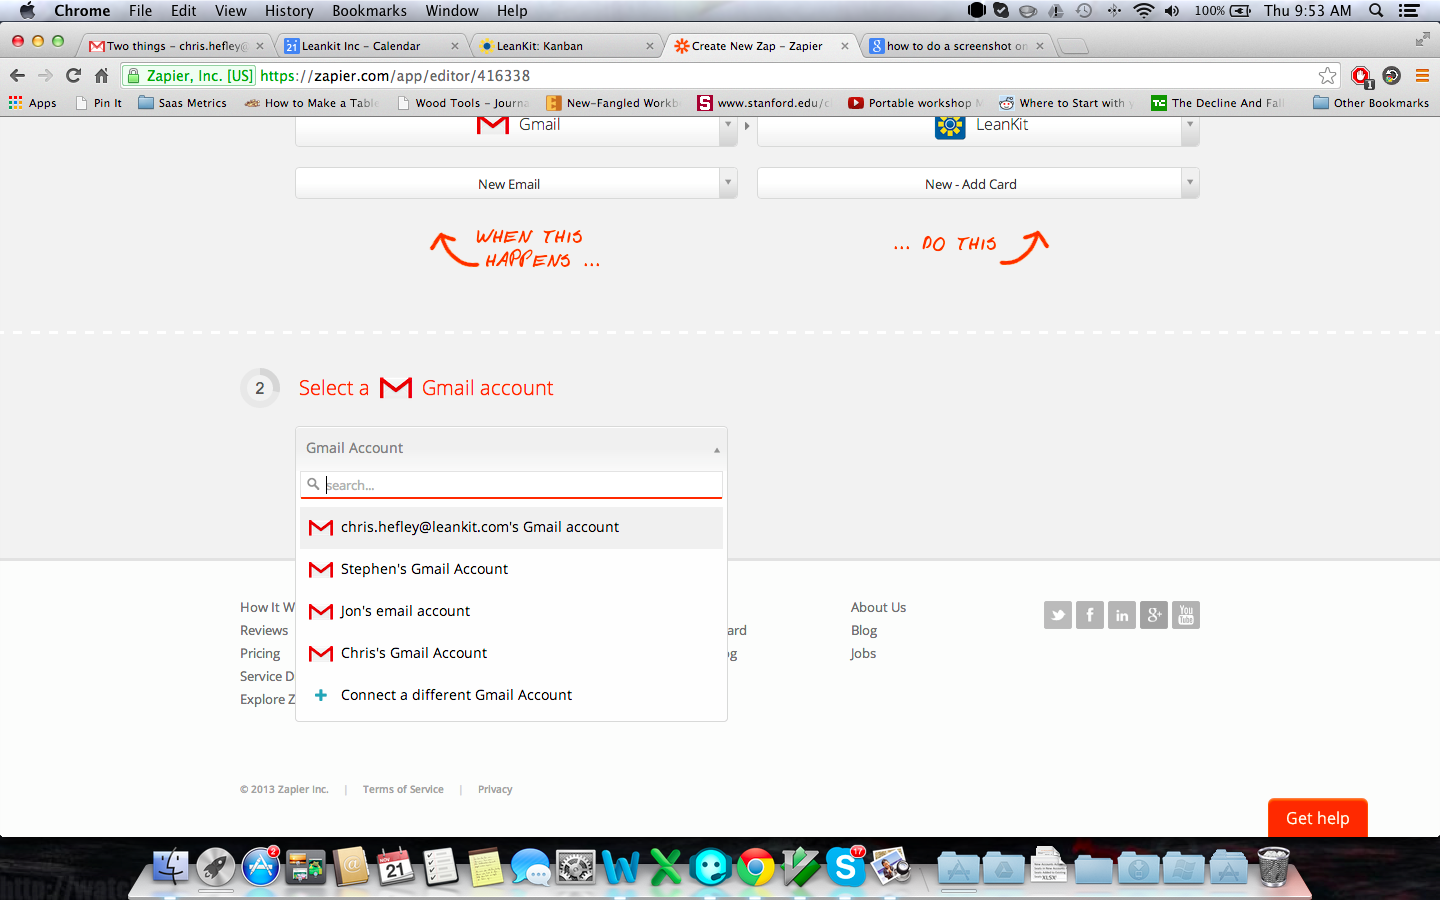
First, you’ll need an account with Twilio, a popular programmable voice and SMS Service. Go to Twilio.com, and sign up for a new, free account.After you create your account, you’ll be asked for your phone number, and Twilio will send you a text message with a confirmation code, which you’ll need to enter on the next screen:Twilio will then generate a new phone number for your account:Now, open up Zapier.com, and log into your account, and create a new Zap, as shown below:Zapier will ask you to configure your Twilio account, using your Account SID and Auth Token from Twilio, shown below:Once you have set up your Twilio and LeanKit accounts correctly, you’ll see this:Select your Twilio number that you’ll send SMS messages to…And select the LeanKit board, lane, and card type. In the LeanKit “Title” (card title) field, choose “Body” from the list of available Twilio fields.Fill in the other required LeanKit fields:And finally, test and name your new Zap.You should now be able to text message your Twilio number (I created a contact in my iPhone for “LeanKit Twilio”, and a new LeanKit card will be created: This is the fifth post in the series by Chris Hefley of LeanKit showing how to integrate tools many of us use everyday with our Personal Kanban. You can read the previous post – Integrating Your Personal Kanban with Campfire in LeanKit using Zapier here.